Step 3: Using SPPQ Dataverse
STEP 3: USING SPPQ DATAVERSE
The SPPQ Dataverse is housed within the UNC Dataverse. Dataverse is a web-based data repository that preserves and shares research data. The following sections will walk you through the entire submission process start-to-finish.
Creating Your Account (3.1)
Creating A New Dataset (3.2)
Uploading Materials (3.3)
Submit For Review (3.4)
Return to SPPQ Journal Verification Framework
Creating Your Account (3.1)
To submit your verification package for review, you will first need to create an account in UNC Dataverse.
1. Navigate to https://dataverse.unc.edu/
2. Select Log In
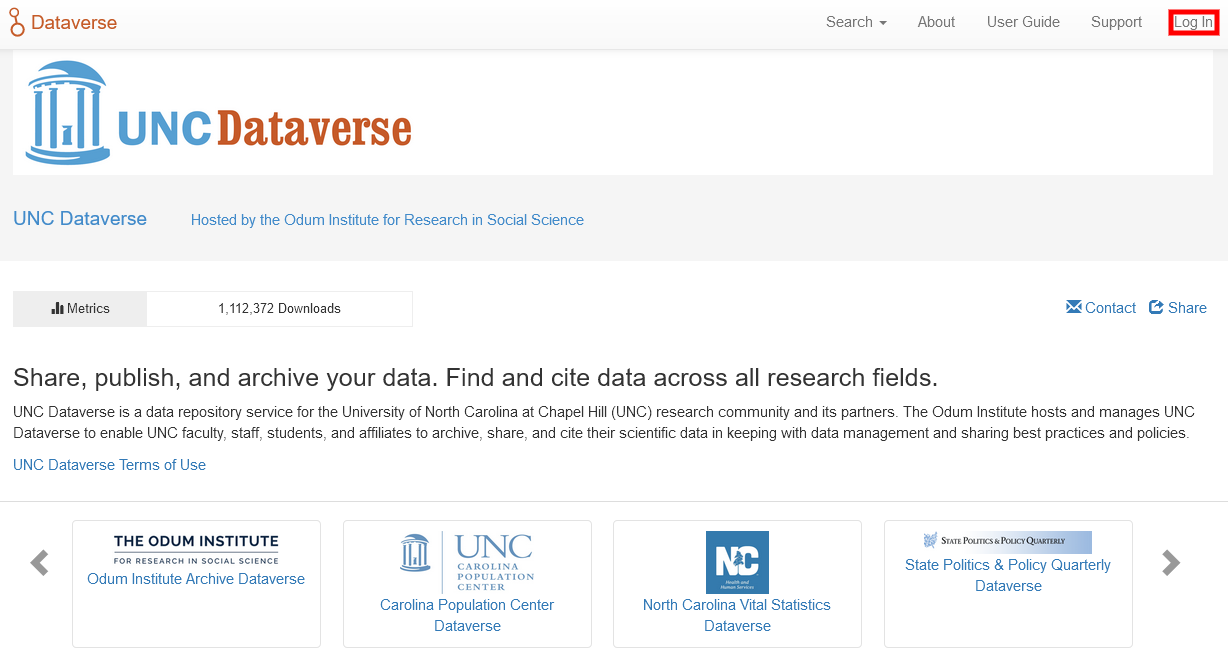
3. Select your institution from the drop-down to sign up with your institutional credentials. Agree to the Terms of Use, and create your new account.

Note: If your institution is not in the drop-down menu, please contact SPPQ Editors.
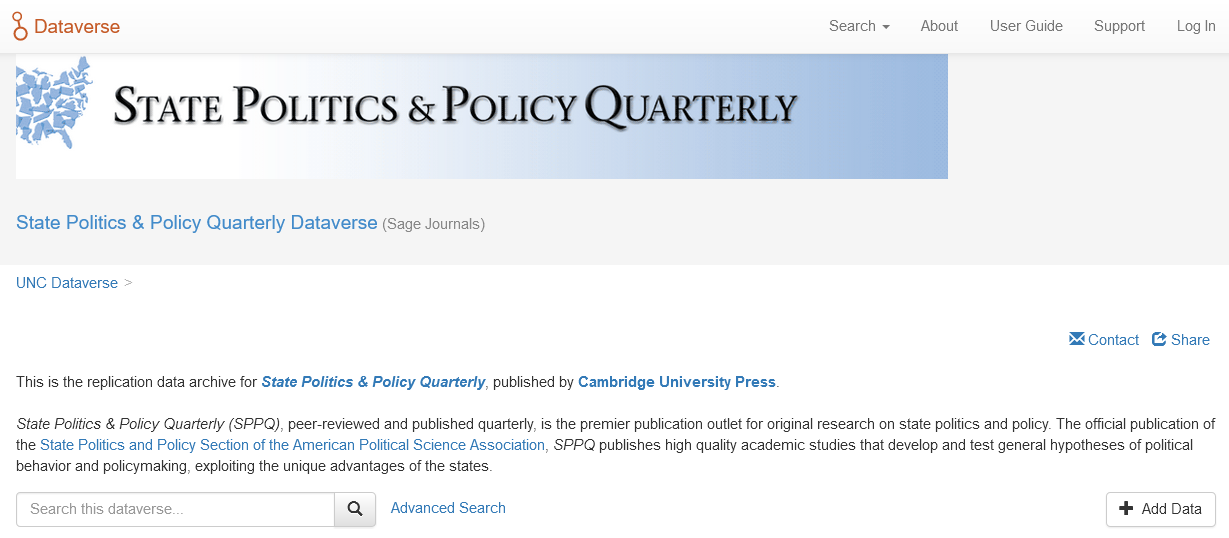
4. After logging in, navigate to SPPQ Dataverse. If you see the following, then you are in the correct place.
Once you have completed the above, please move to the next section of this guide Creating A New Dataset (3.2)
Creating A New Dataset (3.2)
Before creating your dataset, please make sure you are logged in and start at the main page of the SPPQ Dataverse.
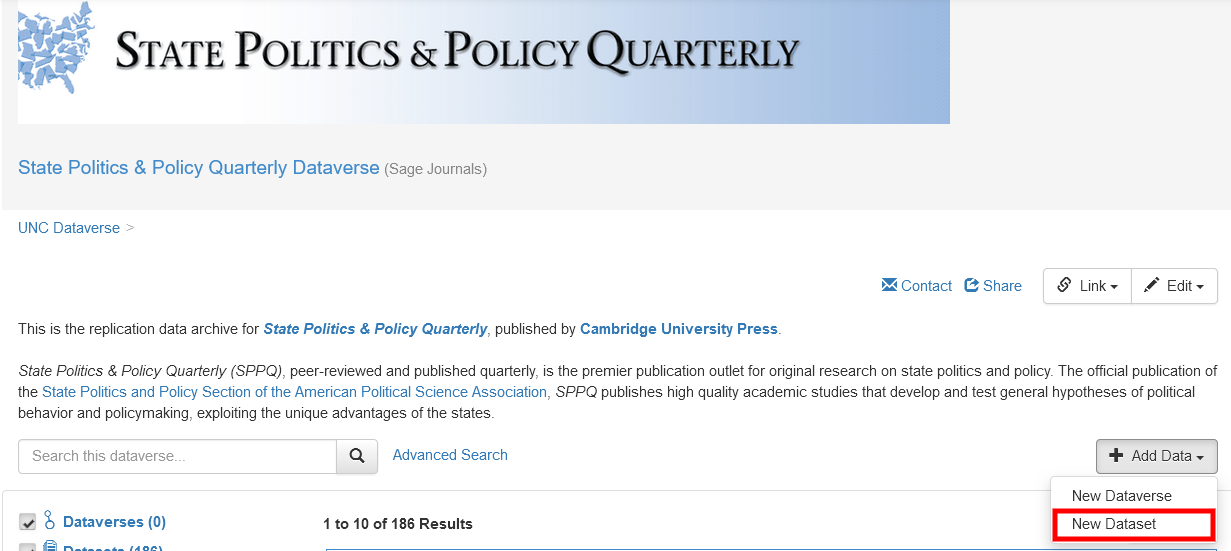
1. After confirming you are in the correct Dataverse, select +Add Data > New Dataset
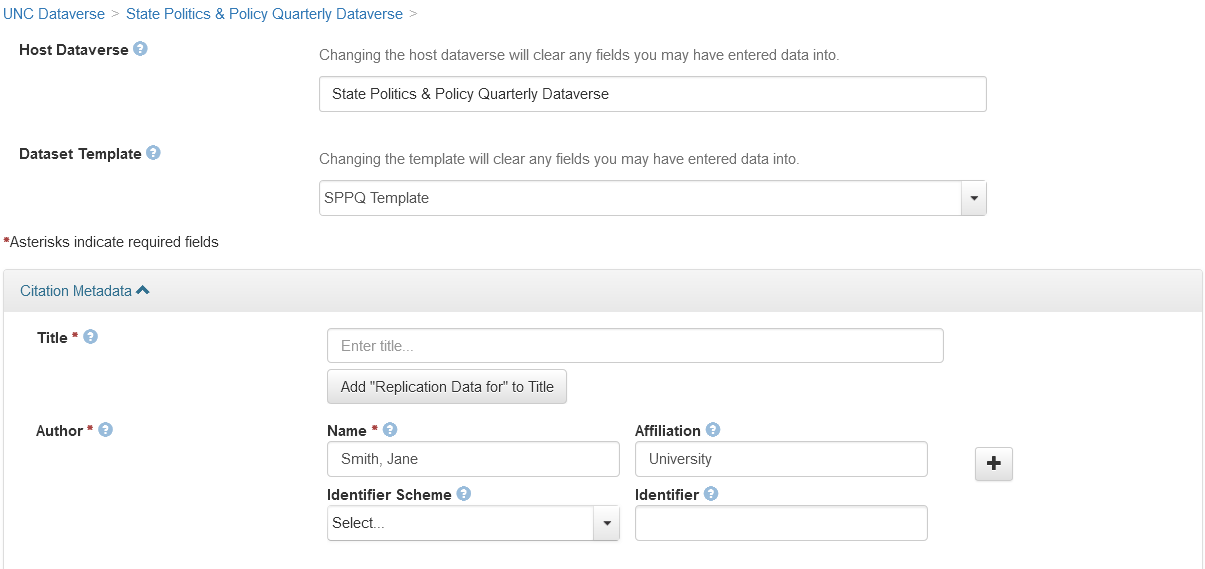
2. Enter appropriate information into each of the *Required Fields and provide a description and at least three keywords.
💡 Tip: Adding Keywords to Dataset
Keywords provide users with specific context about the contents of your dataset. We recommend including at least three keywords in your SPPQ Dataverse record. When adding keywords, be sure to enter one keyword per Term field. You can add additional Keywords by pressing the + button to the right of the field.

Once you have completed the above, please move to the next section of this guide Uploading Materials (3.3)
Uploading Materials (3.3)
When you have completed filling in the appropriate fields, scroll to the very bottom of the page. Here you are able to drag and drop your files for upload, or click + Select Files to Add and choose the files from your desktop.
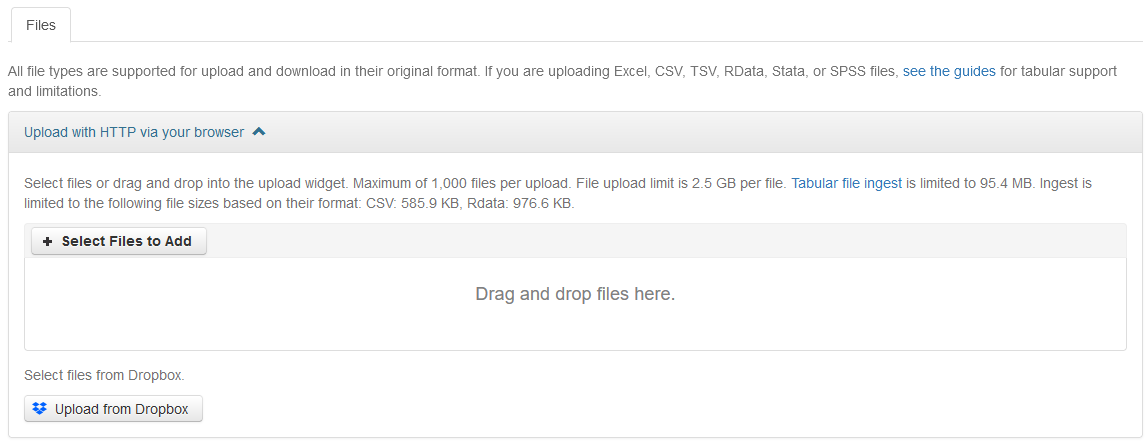
If your submission uses a folder hierarchy and you wish to maintain that organization, you can simply drag and drop the main folder into the uploader widget and SPPQ Dataverse will keep your folder structure. However, if you would like to manually create folders within SPPQ Dataverse, you can do so by using the File Paths field once the files are uploaded.
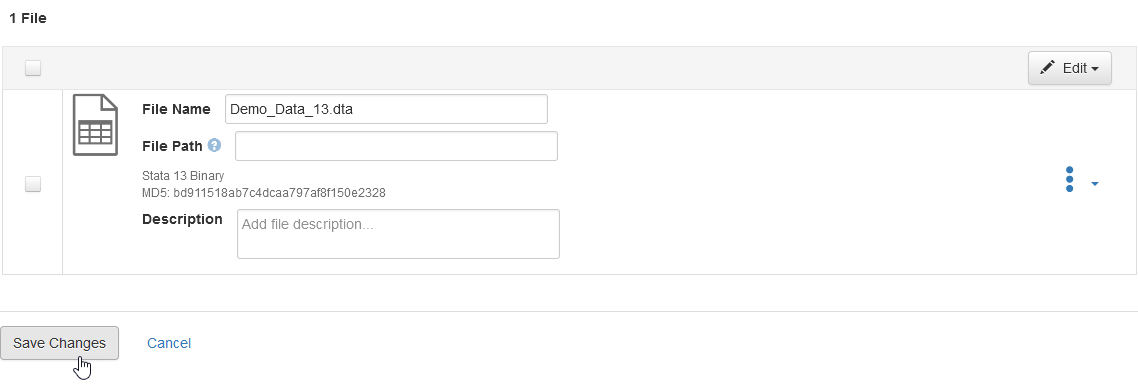
Type the name of the folder you want the file to be housed into the File Path field under each file. You may also add individual file-level descriptions to each file if you would like to provide users with more context. This is not required for submission. After uploading all files, review your metadata one last time to make sure all required fields are filled in appropriately.
If everything is correct, click Save Dataset. A draft has now been saved to SPPQ Dataverse, review the complete draft one final time and make sure that all of your files are properly uploaded and present in the record. If there is an error message next to any files, please attempt to download and make sure the file ingested properly. If it did not, delete the file and re-upload.
If you need to edit any of the metadata click Edit on the right side of the record and then select Metadata from the drop-down menu. When you are finished editing the metadata, save your changes.
Once you have completed the above, please move to the next section of this guide Submit For Review (3.4)
Submitting for Review (3.4)
After careful review of your metadata and data files to make sure that everything is present in the draft record and that all required fields are filled in, please navigate to the Submit for Review button on the right hand side of the record.
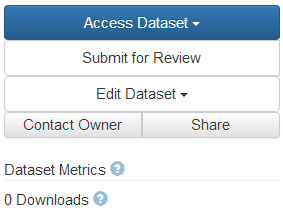
Once you select Submit for Review you will no longer be able to edit your draft record. Dataverse will lock the record, which allows the SPPQ Editors and the Odum Verification Team the ability to review your verification submission package.
Once you have completed the above, please move to the next section of this guide Step 4: Contacting SPPQ Editors